
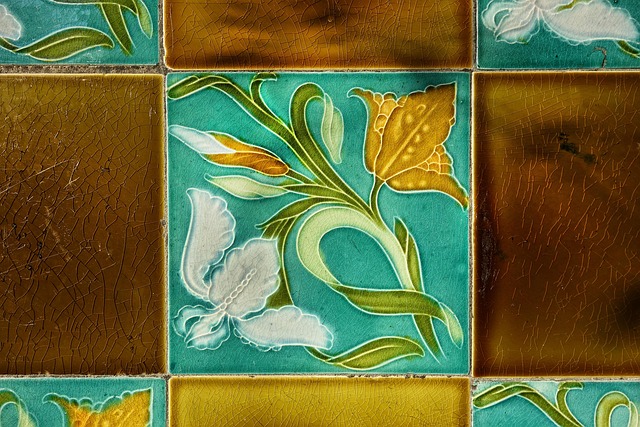
Understanding Tile Installation Costs in Denver involves recognizing material, labor, and square footage as key pricing factors. DIY enthusiasts can reduce expenses by choosing budget-friendly tiles, planning carefully, and using proper tools. Precise measuring, preparing the subfloor, and selecting outdoor tiles from local wholesale suppliers are cost-saving tips. A detailed step-by-step guide offers expert installation techniques for Tile Flooring Denver projects.
“Looking to transform your space with tile flooring in Denver on a budget? This comprehensive guide is your DIY companion. Discover how to navigate the costs of tile installation in Denver, equip yourself with the right tools and materials, and master the art of measuring and preparing your area perfectly. We’ll also unveil cost-effective tile options tailored for your project. Get ready to install tiles like a pro and save money while enhancing your home.”
- Understanding Tile Installation Costs in Denver
- Tools and Materials for DIY Tile Projects
- Measuring and Preparing Your Space Accurately
- Choosing Cost-Effective Tile Options
- Installing Tiles Like a Pro: Step-by-Step Guide
Understanding Tile Installation Costs in Denver

When it comes to understanding Tile Installation Costs in Denver, DIY enthusiasts should know that factors like material, labor, and square footage significantly influence pricing. In Denver, where both resilient tile flooring and shower tile design ideas are popular, costs can range widely from $10 to $20 per square foot for materials alone. Factor in the cost of professional hardwood floor installation Denver services, and the total price tag can quickly climb. However, DIY approaches using clever techniques and affordable materials can dramatically reduce these expenses.
Consider exploring options like purchasing discounted tile flooring Denver outlets or opting for more budget-friendly resilient tiles. Additionally, taking on smaller projects yourself, such as installing backsplashes or bathroom floors, can save substantial amounts compared to hiring professionals. While some may balk at the initial DIY challenge, navigating shower tile design ideas Denver and installation with careful planning and research ultimately translates into significant savings on your Tile Flooring Denver project.
Tools and Materials for DIY Tile Projects

When taking on a DIY tile installation project in Denver, having the right tools and materials is essential for success. For Tile Flooring Denver projects, expect to need basic tools like a trowel, mortar mix, and a grout bag. These are fundamental for spreading and shaping the mortar, which acts as the adhesive between tiles. Additionally, a level, tape measure, and rubber mallet will ensure your tiles are laid evenly and accurately.
For more complex bathroom tile remodeling Denver projects or transitions from Denver commercial carpet to tile, you might require specialized tools like a wet saw for cutting tiles precisely. Grout, obviously, is another crucial component, and choosing the right type (sanded or unsanded) depends on your project’s scale and aesthetics. Remember, proper preparation and the right materials can make your DIY tile endeavor smoother and more cost-effective than hiring professionals.
Measuring and Preparing Your Space Accurately
Before tackling any DIY project, precise measuring is key to success when installing tile flooring in Denver. Accurately assessing your space ensures you purchase the right amount of materials, saving you time and money on unnecessary supplies. Start by clearing the area to be tiled, removing any furniture or obstacles that might interfere with measurements. Then, using a tape measure, determine the length and width of the room, taking note of unusual shapes or angles. These measurements will guide your tile layout and material calculation.
Additionally, prepare your subfloor properly before laying tiles. Ensure it’s clean, dry, and free from any imperfections. For existing floors, you might need to sand down rough spots or fill in gaps with a suitable compound. Proper preparation not only ensures a more aesthetically pleasing result but also helps prevent future tile damage and facilitates easier tile cleaning and repair in Denver, should any issues arise.
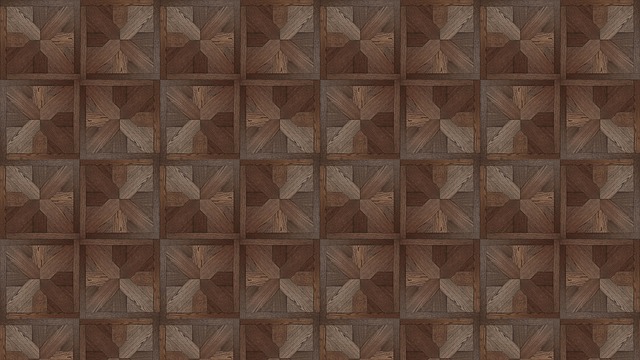
Choosing Cost-Effective Tile Options

When considering a DIY tile installation project in Denver, selecting cost-effective options can significantly reduce your expenses without compromising quality. One of the best ways to save on Tile Flooring Denver is by exploring outdoor tile choices. These tiles are often more affordable than their indoor counterparts and can be used for both walls and floors, providing versatility and value. Look for durable, weather-resistant materials that can withstand Colorado’s varying climate.
Additionally, engaging with Denver tile wholesale suppliers can offer substantial discounts on a wide array of tile options, including Wall Tiles Denver. These suppliers cater to both professionals and DIY enthusiasts, so you can find high-quality tiles at lower prices. By carefully considering outdoor tile options and leveraging local wholesale sources, you’ll be well on your way to completing your tile installation project in Denver while staying within your budget.
Installing Tiles Like a Pro: Step-by-Step Guide
Installing tiles like a pro can save you significant money on your Tile Flooring Denver project. Here’s a step-by-step guide to help you achieve expert results, even if you’re a DIYer. First, prepare your workspace by clearing the area and laying down drop cloths. This protects your floor and prevents debris from spreading. Next, gather all necessary tools and materials: tiles, grout, spacers, a trowel, and a rubber hammer. Ensure you choose the right luxury vinyl tile Denver or Laminate Flooring Denver based on your budget and design preferences.
Begin by setting the tiles using mortar. Apply a thin layer of mortar to the subfloor with a trowel, then place the tiles, pressing them firmly into the mortar. Use spacers to maintain even gaps between tiles. After laying the tiles, use a rubber hammer to tap them gently and remove air bubbles. Let the mortar set according to the manufacturer’s instructions before filling in the grout gaps. This meticulous process ensures your Refinish Hardwood Floors Denver project looks professional and lasts for years to come.
When it comes to saving money on tile installation in Denver, DIY enthusiasts can achieve significant cost savings by understanding local market rates, gathering the right tools and materials, and mastering basic installation techniques. By accurately measuring your space, selecting cost-effective tile options, and following a step-by-step guide, you can install beautiful tile flooring in Denver while keeping your budget intact. Remember, with proper preparation and knowledge, DIY tile projects offer both creative freedom and financial benefits for any homeowner.